


Carving a pumpkin for Halloween?
Pumpkin carving can be one of the most fun parts of Halloween for both adults and kids alike.
We have put together our top tips on how to carve a pumpkin as well as some fun recipes to use up your pumpkin after 31st October.
Choose your pumpkin
The best choice is a large, ripe pumpkin that has smooth, even surfaces and sits comfortably without danger of rolling over.
Pumpkin picking has become increasingly popular over the past few years with many pick-your-own farms now offering a pumpkin patch.
This is a fun way to get your pumpkin as it can be a fun family day out! Many places offer additional activities such as children’s crafts, maize mazes, seasonal trails and delicious autumnal food and drink.
Sketch your pattern
Sketch a pattern on paper to suit the size and shape of your pumpkin. If you’re not artistic, use a stencil or template. Print off a free stencil from Good Housekeeping.
Make the lid
Draw a 125mm (5″) circle on the top. Cut out the lid with the saw/blade at an angle – leaning slightly to the outside – this will stop the lid dropping inside. Remove the lid and clean its base.
Tip: Sprinkle cinnamon on the inside of the lid for a pumpkin pie aroma.

For a carving tool, we recommend a pumpkin saw. If you’re using a knife (small and sharp) carve gently and steadily, making a few gentle strokes for each cut.
The kids can remove the inside
They’ll love this slimy job and can easily remove all the seeds and mushy stuff. Then, you can takeover scraping with a spoon or ice-cream scoop. Thin walls make carving easier, but don’t make them too thin or the pumpkin will collapse. Make the base inside flat to accommodate a candle.
Apply your pattern
Copy freehand onto the clean, dry pumpkin with a marker/pen/pencil or tape your paper pattern to the pumpkin and mark the design by poking holes through the pattern.
Carve!
Adults only if you’re using a knife! Carefully begin at the centre of your pattern and work outward – small shapes first. The kids can push out the shapes as you go. Lastly, ensure the pumpkin sits stably without danger of rolling.
Light up
Place a tea-light in the base. Ensure the candle is level and carefully light it. Always extinguish the candle when leaving the room.
If you want to keep little hands away from sharp tools or if you find pumpkin carving a bit tricky yourself, here are some alternative ideas:
- Use a rubber mallet or a hammer covered with a cloth and a cookie cutter to stamp out shapes such as stars, hearts or circles.
- Drill lots of small holes all over the pumpkin.
- Cut out windows and a door and create a Sweetie Shop; fill with sweets for trick or treaters.
- No-carve pumpkins – painted pumpkins can look fantastic and are great for younger children.
When you’re done with your pumpkin, be sure to use it to create some delicious food! Take a look at our Delicious Pumpkin Recipes for some ideas on how to use yours up.
Or for other Halloweeny treats, check out our Spooktacular Halloween Recipes.
For some interesting facts and history about the spooky season, visit our When is Halloween? blog.


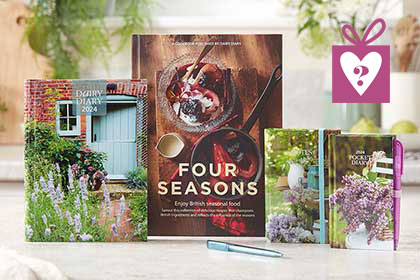
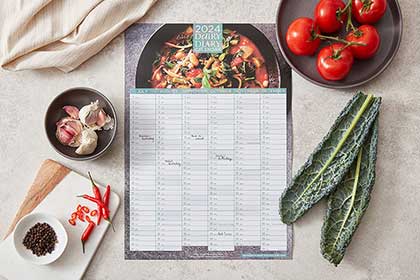
Dairy Diary 2024
This diary has everything you need!
It has a practical layout plus stickers, reminders, planners and fascinating features on crafting, gardening and wildlife. Lots new for 2024! Click to find out more or explore the recipes.

I look after communications and marketing at Dairy Diary. I’m a busy mum and love home baking and cooking for my family. In my spare time I enjoy visiting the theatre, eating out with friends and exploring the great outdoors!


